Project Structure
An Aimsun Next project may be composed of several different files: the model document with revisions and backups, backgrounds, real data, paths, outputs, etc.. Keeping track of all the files may become cumbersome in complex projects, thus we introduced the capability to keep all the files that a project references into a set of sub-folders that are automatically created and maintained.
This facilitates the creation of backups, working more efficiently with revisions, allowing easily to hand in project deliveries, and of course to resume work in future phases of a project. This new folder structure also applies to Tutorials; after selecting whether to open the initial or the final network, select the folder where you want to create the project folder structure and save the tutorial network.
Working with the Project Structure
When a new Aimsun Next Project is created, several directories are created automatically in the path indicated in the "New Project" > "Folder" field i.e., C:/tmp:

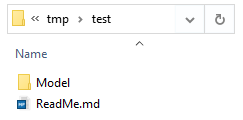
A new folder is created with the name given in the "Project Name" field (i.e.: test). Inside that folder, a subfolder named "Model" and the ReadMe.md file is created. The ReadMe.md file includes the "Description" regarding the project provided by the user:
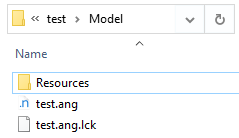
The "Model" folder contains another subfolder named "Resources" and the .ang file which receives the same name as indicated in the "Folder" field (i.e.: test.ang):
The "Resources" folder is the place were all the other files of the project are stored. These files will be organized in different folders which are automatically created by Aimsun Next "on-demand" while the user is working on this model. To save or read a file, the user will be by default offered another folder inside the "Resources" folder to store that specific file type. For example, if the user wants to create a new Initial State (i.e.: test.ais) file, then the default path offered will be the one in "/Resources/Initial States/test.ais" , however, to import a new image file, it is recommended that the image file is first copied inside the folder "Maps" and then imported to continue with geometry refinement.
See the complete folder structure below:
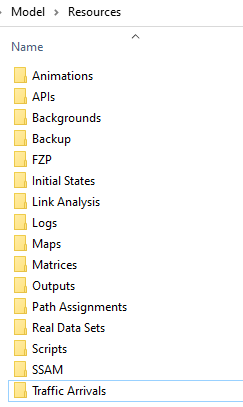
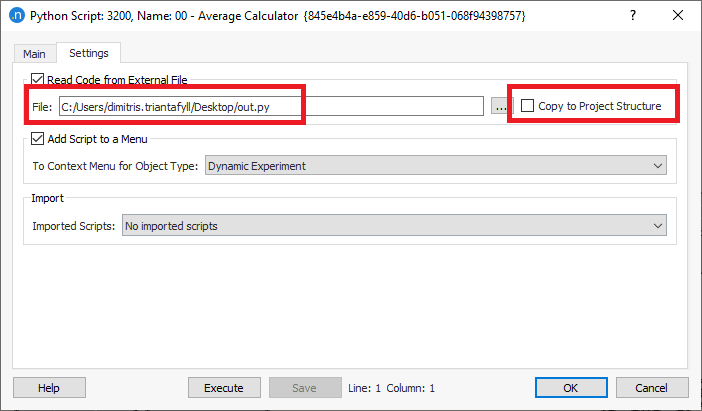
If the user needs to specify a folder to save a file or read a file, Aimsun Next will always suggest the default folder from the new Project Structure related to that type of file. Only for OD matrices and Script files, there is the Copy to Project Folder option that allows files to be stored externally in different directories if the check box is selected in the dialog.
Important note: The name of the "Resources" folder should NEVER be changed. So, ensure that this folder is in the same directory as the .ang file and never renamed, removed nor moved to a different directory.
Examples
When we choose to store a Path Assignment, or to store an OD matrix/script file externally, this file by default will be stored inside the Project Structure:
- Creating a new Path Assignment File (.apa): The default path created will be "/Project Name > Model > Resources > Path Assignments > pathAssignmentName.apa":


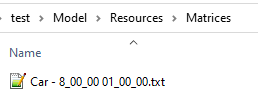
- Creating a new OD matrix and set it manually to be stored externally (.txt): The default path created will be "/Project Name > Model > Resources > Matrices > matrixName.txt":
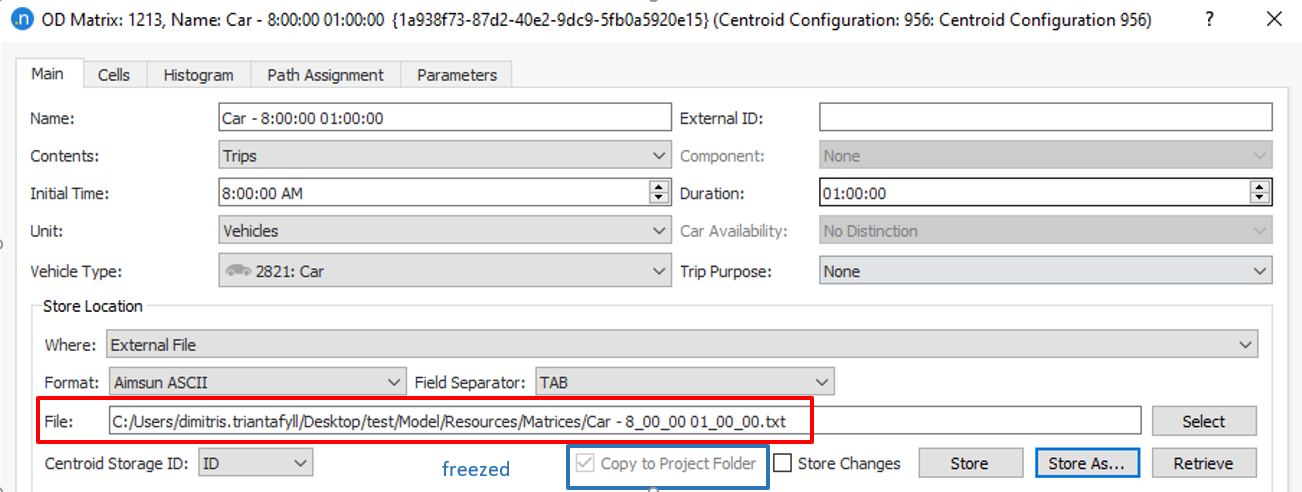
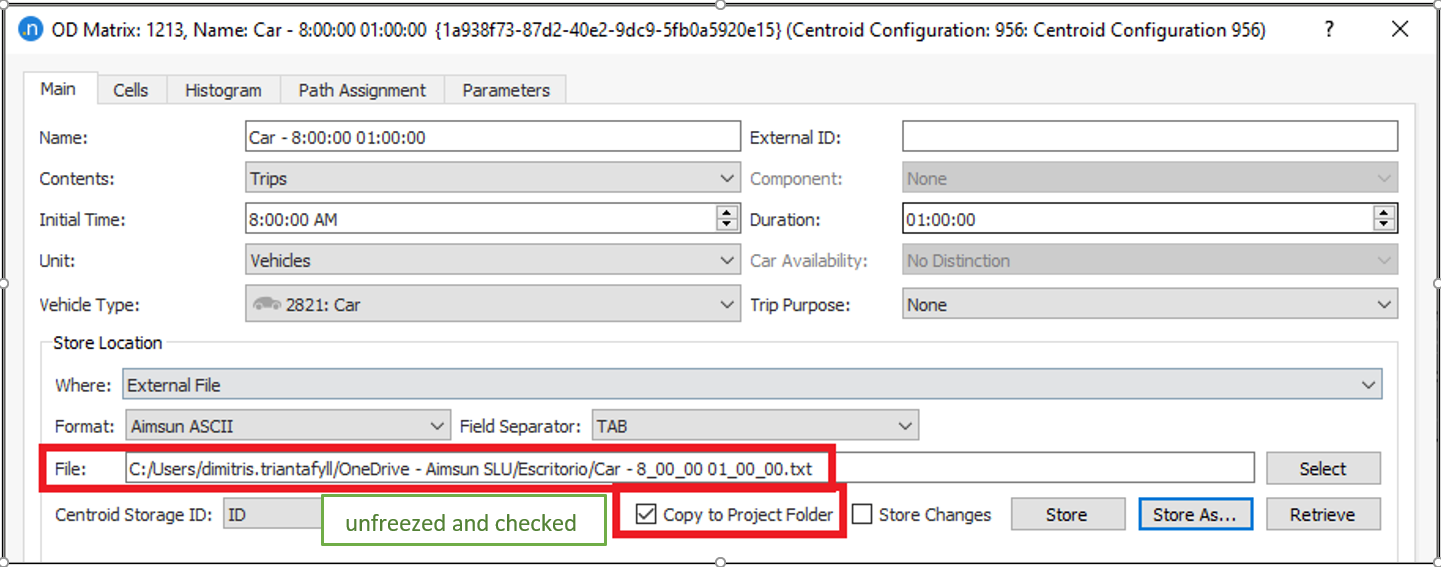
If the OD matrix is set to be stored externally but in a different path than the default Project Structure folder, then the option "Copy to Project Folder" is unfreezed. The checkbox is enabled by default. If you keep the checkbox enabled and press OK to exit the dialog, the OD matrix will be copied to the Project Structure folder and the path will be updated.
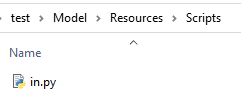
- Creating a new script and set it manually to be stored externally (.txt): The default path created will be "/Project Name > Model > Resources > Scripts > scriptName.py":
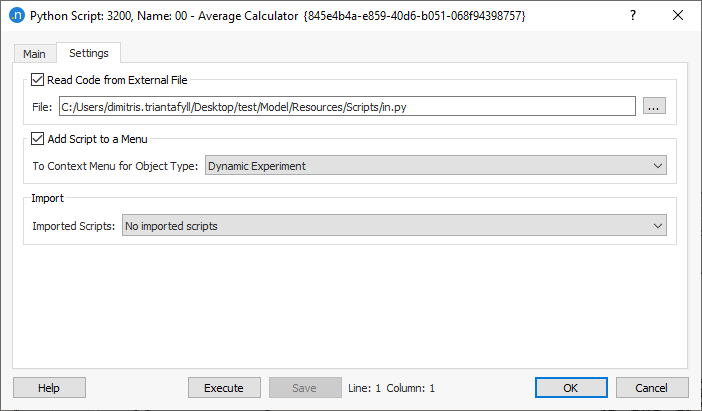
Script files stored externally will also have the option Copy to Project Folder option to allow the copy and usage of any script from any directory outside the Project Structure folder named "Scripts". This option is intended to be used when you have a central scripting repository for all of your projects and you want to ensure that you are always accessing the latest version of a script that can be modified externally.
Converting old projects to work with the Project Folder Structure
The Project Structure folder feature is activated by default when creating a new project. However, old projects can also benefit from this feature. To activate the Project Structure, the user needs to create the folder "Resources" manually in the same location as the .ang file. All sub-directories will be created automatically when a new object is created, or any existing object is set to be stored externally. Other input/output files can be also moved to the corresponding folders of the Project Structure. The user should also convert the paths into the corresponding objects. Below, you can find the files included in each folder of the Project Structure:
- Animations: Replay files (.arf), Legion XML Animation (.xml).
- APIs: Advanced Programming Application files (.py, .pyc and .dll).
- Backgrounds: CAD files .(.cad).
- Backup: Back up files .sang, .ang.old files.
- FZP: Files with information about vehicles generated in a micro simulation (.fzp).
- Initial States: Initial state files stored externally (.ais).
- Link Analysis: Save and Retrieve Link Analysis data (.ala).
- Logs: files are generated by Adaptive Control Interfaces and usually have a .txt or a .log extension. They are intended to be used for debugging purposes and are not required for subsequent simulations.
- Maps: image and vector drawing files types that can be imported into an Aimsun document as blueprints to create the network geometry: .png, .jpg, .gif, .svg, .sid, .ecw, .jp2, .tif, .tiff, .osm, .osm.xml, .shp, .tab, .gml, .gpx, .kml, .mif.
- Matrices: external OD matrices (.txt).
- Outputs: output files such as .sqlite, .adj, .dis, .dynAdj, .mod, .pdj, .dea.
- Path Assignments: path assignment files (.apa).
- Real Data Sets: external files (.csv) retrieved as real data set objects.
- Scripts: python script files stored externally (.py).
- SSAM: output SSAM files (.trj).
- Traffic Arrivals: (.ata) files which contain a list of all the vehicles generated in one dynamic simulation.
Deactivating the automatic management of the project files
You can deactivate this functionality by either renaming, moving, or deleting the "Resources" folder. Be sure that you keep a back-up of all the external files used.
Saving frequent back-ups of the model
While working on an Aimsun Next project, it is recommended that all users keep back-ups during various states of the model. Find below the workflow to safely keep back-ups of the Aimsun Next project:
- Create a copy of the entire Model folder with all its sub-folders.
- Rename the folder (i.e.: using the date as reference).
- You can delete any unnecessary files (e.g. background images, external matrices that you have deleted in the .ang, etc.) to save space if needed; you can also compress this folder if desired.
- Continue working with the model in the Project Folder Structure.