Elevation Importer
You can apply elevation data to an already existing Aimsun Next network using the Elevation Importer feature. To do so, use the tool named Apply Elevation Using DEM file. Note that DEM (digital elevation model) files which can be imported have the extension 'TIF'. You can find more information about DEM files on the Copernicus website.
Applying Elevation data
To apply elevation data to your model:
-
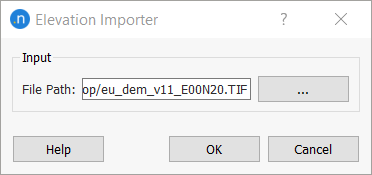
From the main menu, Select Tool > Apply Elevation Using DEM file. The Elevation Importer dialog is displayed.
-
For the File Path field, browse to find the TIF file you want to import.
-
Click OK to import the data.
Coordinate limits and the resolution of the elevation map should be known. Check with the supplier or generator of the DEM file if you are not sure.
For every section within the network, the process followed on import is as follows:
-
For each point that is part of a section, an equivalent point in the coordinate system of the file is created.
-
If this point is contained within the elevation map, the corresponding point in the network is calculated. This calculation is made using the coordinate limits, the resolution of the map, and the coordinates of the converted point.
-
Elevation is retrieved and applied to the original point of the section.